No, you do not have to shave your head for scalp micropigmentation. Scalp micropigmentation is a procedure that works around any natural hair you may have. Whether you’re fully bald or are experiencing milder thinning, micropigmentation can work for you.
What is the process for scalp micropigmentation?
Before
Before walking into your scalp micropigmentation appointment, you want to make sure your scalp is ready for the procedure. For the week leading up to the appointment, you should focus on making your scalp as smooth and healthy as possible.
In order to prepare, you can moisturise your scalp, gently exfoliate to remove any dead or dry skin, pause the use of topical hair products and avoid drinking alcohol the day before your appointment. Since alcohol is a blood thinner, it’s best to avoid it before this procedure.
Below are the steps taken before a standard scalp micropigmentation procedure begins:
- Wash your hair and scalp before your appointment.
- You and your practitioner will then take some time to discuss the exact result you would like to achieve and address any questions or concerns you may have.
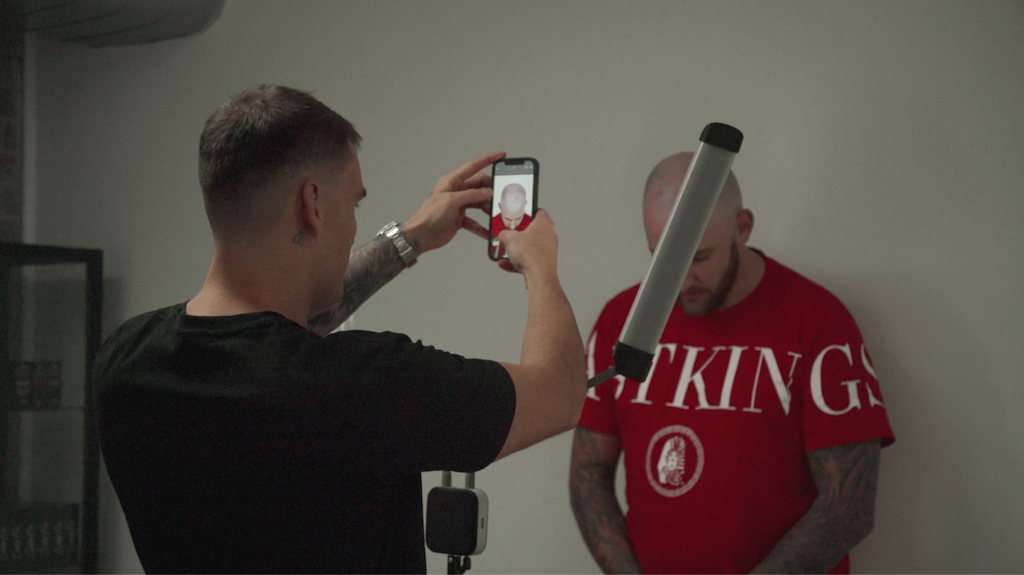
- When you arrive, your practitioner marks the areas of the scalp that they’ll work on. If you’re bald, you may work with your practitioner to create a hairline based on your facial structure and head shape.
- The practitioner will then thoroughly clean the area that they’re about to work on.
- You and your provider choose pigments that match your hair colour.
During
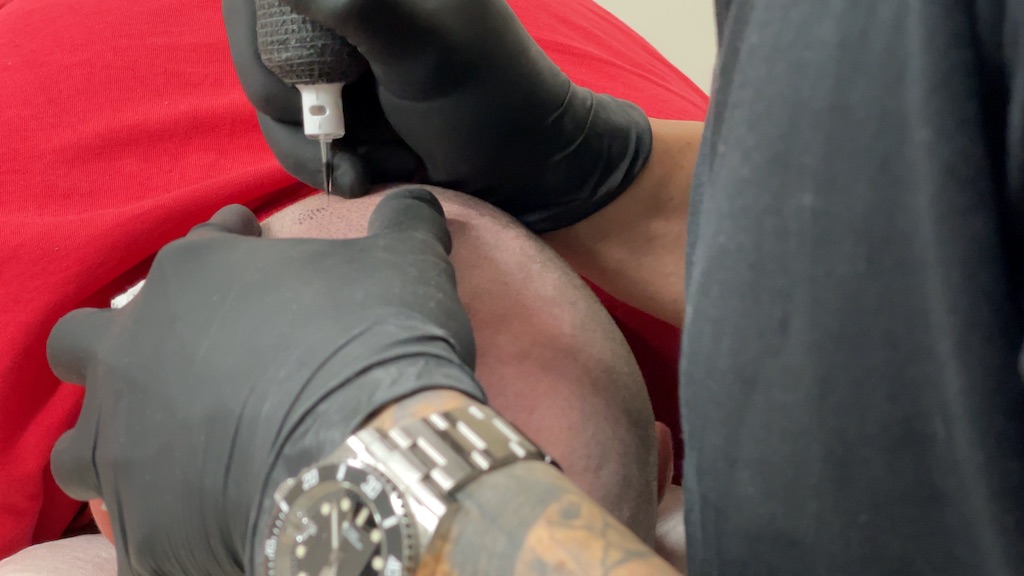
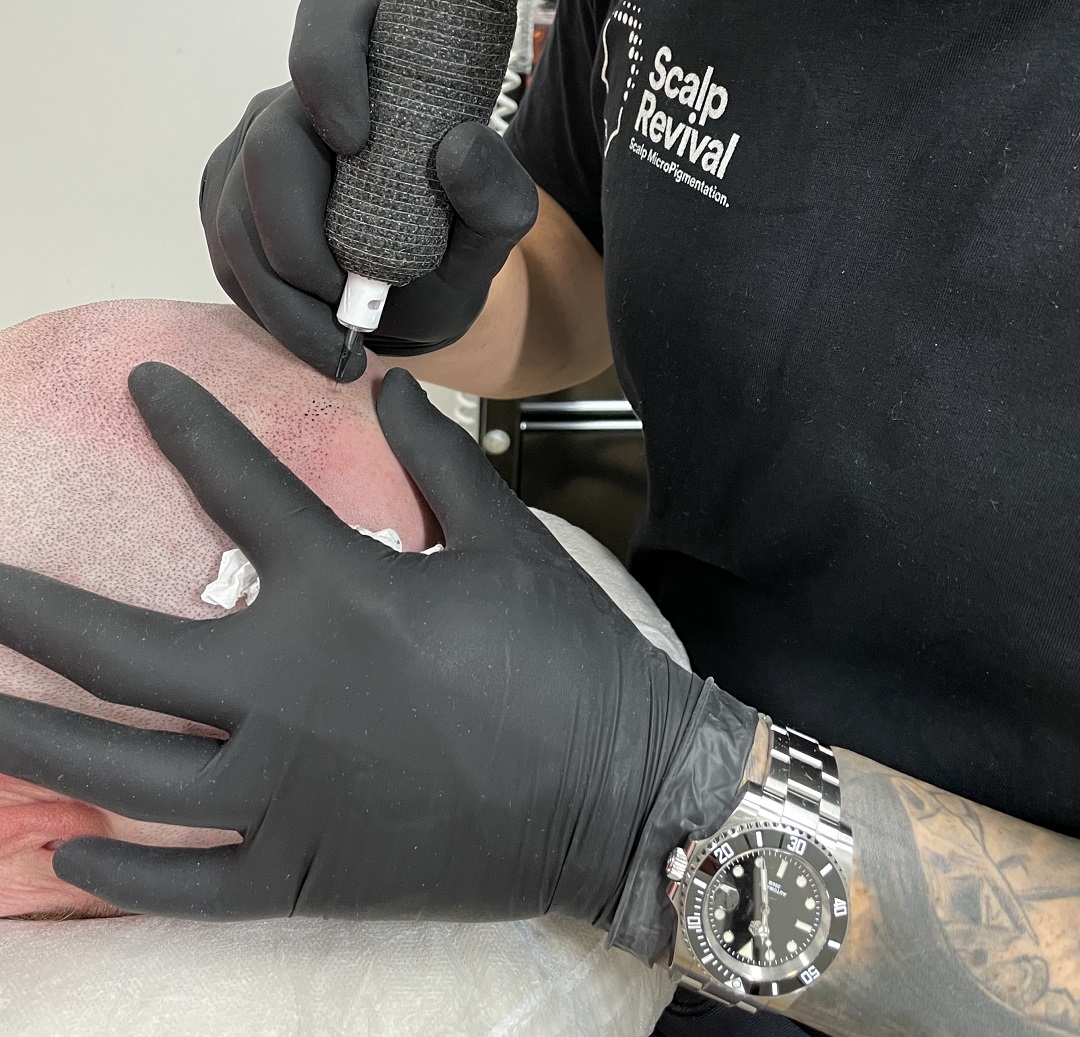
After all the above steps have been completed, your practitioner will begin the procedure. They will use a needle to deposit medical-grade pigment on the scalp, in the areas you discussed earlier. The dots vary in size, shape, shade and depth to provide a natural, hairlike appearance.
Depending on the specific treatment plan you created with your practitioner, the length of the session can vary. Based on the size of the area being worked on, each session on average can take anywhere from one to four hours.
Most people need two to three treatments, spaced several weeks apart, before achieving their final desired look. Each treatment adds more pigment to create the look of thick hair, allowing you to yield both more noticeable and realistic results.
After
Since scalp micropigmentation is a cosmetic procedure with no surgery or anaesthesia, you can get back to your daily life immediately.
There are very few side effects of scalp micropigmentation. You may experience scalp sensitivity or have some redness on your scalp that lasts several hours, but the discomfort is minimal. You can wear a hat or scarf to hide any visible redness if desired.
While any redness should subside within two days after the procedure, you can expect to experience some pigment shedding by day three. Pigment shedding is part of the natural healing process after scalp micropigmentation, a side effect that all patients experience.
Pigment shedding is the result of your scalp undergoing both healing and naturally exfoliating. While your scalp heals, the skin forms small scabs. As the scabs fall off, so does much of the initial pigment, leaving behind a dot on your scalp that’s smaller and lighter.
You can use a petrolatum-based moisturiser such as Vaseline twice a day to keep the area hydrated, prevent new scabs from developing and speed up the healing process.


